


To get started you just need a few simple things: freezer paper, scissors, fabric paint, a foam brush, a t-shirt or any other thing you may want to paint on and an iron.

First, you need to cut out your stencil from the freezer paper. Making sure the shiny side of the freezer paper is facing down. I used my cricut to cut this ship, but you can trace something or draw yours by hand. After cutting it out you will have a negative and a positive image. I used the negative. (I think! That still confuses me. LOL!!)
Next you will need to iron the freezer paper stencil (shiny side down) to the shirt.

Then paint the area inside the stencil as shown below (as if you didn't already know that!) ...

This is what it looks like while drying. (Nothing like watching paint dry!) Do not remove the stencil until the paint is completely dry. Then place a towel over the image and run a warm iron over it to heat set. Now you are finished!
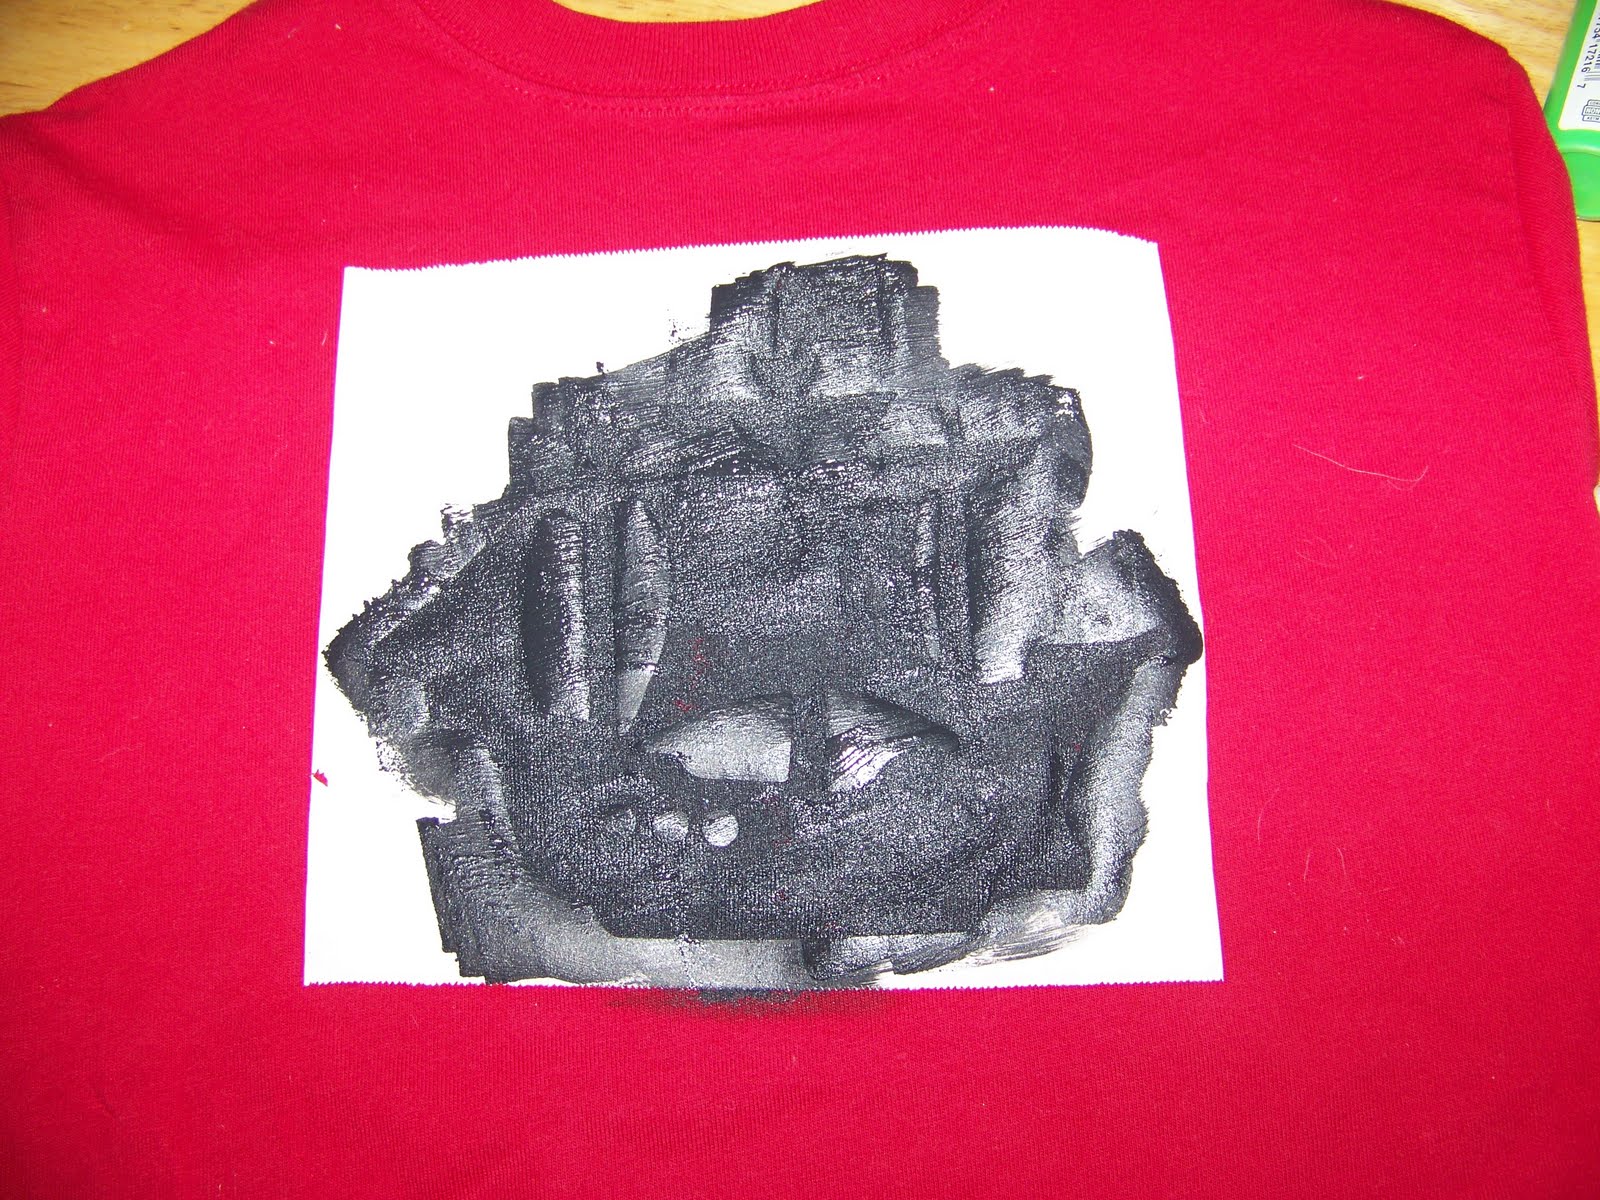
And here is the finished product. My son LOVES it. He was so excited that he wore it to school the next day. There are limitless possiblities! It's inexpensive and lots of fun (and who can't use a little fun??) !!!

Hope you all have a wonderful day!
Linking up to:
and
Warm hugs,
The Mommy


4 comments:
Following you back, thanks for the follow. God Bless,
Shelley
Love this...it's on my list of things to do!
& Thanks for the follow! Following you back :)
I might just have to try this...thanks for the follow..following back!
super cute! new follower :)
Post a Comment